Proxmox | Homelab
Proxmox
Most of my virtualization work has lived inside Docker, running locally on my MacBook Pro. While the M1 Max with 32 GB of RAM is plenty, I eventually started to hit its limits. At the same time, I had a spare PC component sitting around collecting dust, and so, I was wondering, what if I offloaded some of this workload to a dedicated machine instead? I didn’t want to run Windows, and I also didn’t want to install all of my development tools directly onto a Linux host. I came across Proxmox, a Linux-based virtualization platform that supports both virtual machines and Linux containers (LXC). It turned out to be exactly what I was looking for. The result was surprisingly smooth, and it worked almost exactly how I had imagined.
Before diving too far into Proxmox itself, there was a practical problem that motivated this setup in the first place. My partner had been running out of storage on her phone, especially for photos and backups. Our first attempt at a solution was a Thunderbolt USB enclosure with an NVMe drive for photo storage. While it worked, the experience was tedious. We had to manually back up photos every time, and there was always the concern of drive failure. On top of that, she occasionally enjoys browsing old photos, which isn’t very convenient when everything lives on an external drive that isn’t always connected.
So, this led me to do more research and found Immich, an open-source, self-hosted photo management solution. It allows us to manage and browse our photos locally on a server. However, we also want to be able to access this photo library anywhere as long as there is a Wi-Fi connection, similar to Apple iCloud or Google Photos.
After some research, Tailscale turned out to be the simplest and cleanest solution. Instead of configuring port forwarding, setting up OpenVPN, and fighting firewall rules, Tailscale creates secure, point-to-point connections between devices with almost no configuration. As someone who has previously gone through the pain of manual VPN setups, Tailscale honestly feels like magic.
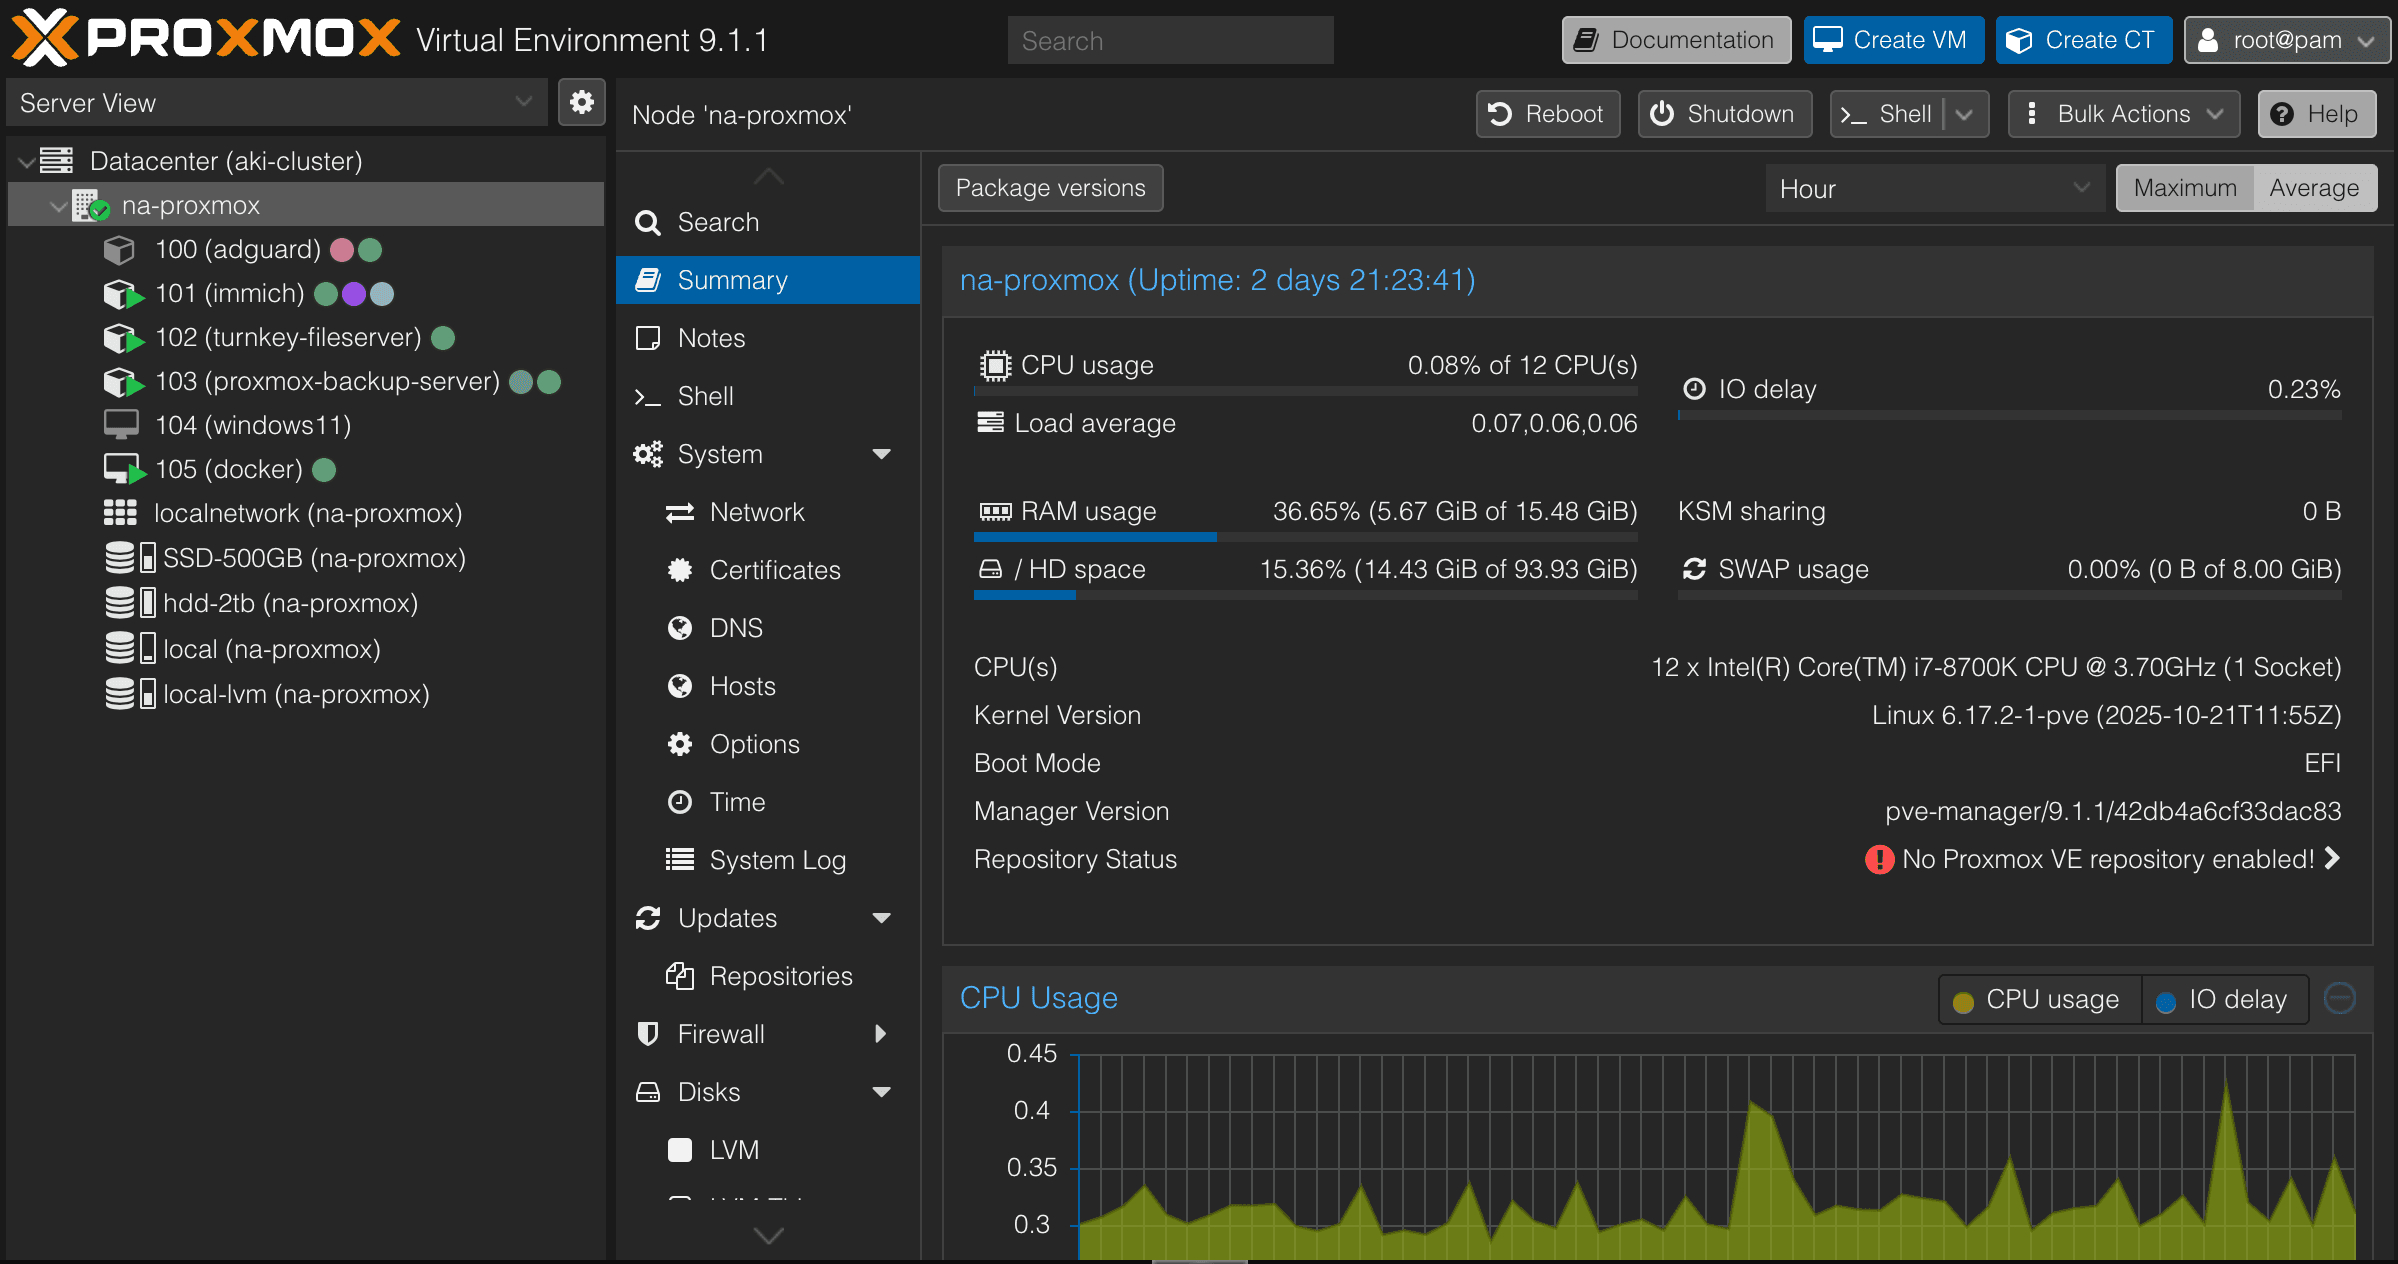
Installing Proxmox itself was straightforward. I created a bootable USB using an ISO image and installed it via the command line. I used Etcher to flash the image onto a USB drive, booted the machine, and followed the installer. Once Proxmox was up and running, I relied heavily on the Proxmox helper scripts to spin up LXCs and VMs. By clicking into a node and opening the Shell, you can simply copy and paste the helper commands to get things up and running quickly.
Here is a diagram of my current Proxmox LXC/VM setup:

After everything was set up, I manually reserved IP addresses for each LXC and VM to ensure their IPs remain consistent across restarts. This worked well, but installing Docker introduced an unexpected issue. Docker attempts to use IPv6 by default, and my router/ISP doesn’t properly support it. As a result, DNS resolution inside the Docker VM broke and started resolving to my router’s IP address (192.168.0.1) and it was not able to reroute to the proper DNS address. The fix was to manually configure DNS inside the Docker VM by editing:
sudo nano /etc/systemd/resolved.conf
I then set the DNS server to either my AdGuard instance or Google’s DNS. In my case:
DNS=192.168.0.111 8.8.8.8
A quick sanity check is to run docker pull hello-world, just to confirm everything was working as expected. Then, I used Tailscale to create secure point-to-point connections to each container and VM. This means I can now remotely access my entire homelab from anywhere in the world, as long as I have an internet connection. I haven’t tested latency yet, but I’m genuinely curious whether it’s good enough for gaming while travelling.
With this setup, I’m able to put my old PC to good use and run meaningful workloads on the go. I’m no longer fully dependent on Apple’s iCloud or various subscription services for some of my use cases. That said, proper backups are still essential, that is to follow the 3-2-1 backup rule. I’m currently experimenting with Proxmox Backup Server, although I need to buy a new hard drive for a backup.
This post doesn’t go too deep technically, mainly because I’m still figuring things out as I go. In future posts, I plan to write more focused deep dives on the interesting problems and solutions I run into. For now, the homelab has been a successful project. I’m genuinely happy with how it turned out, and it feels a bit magical that I can do all of this for free, thanks to open-source communities and by reusing old hardware instead of letting it go to waste.